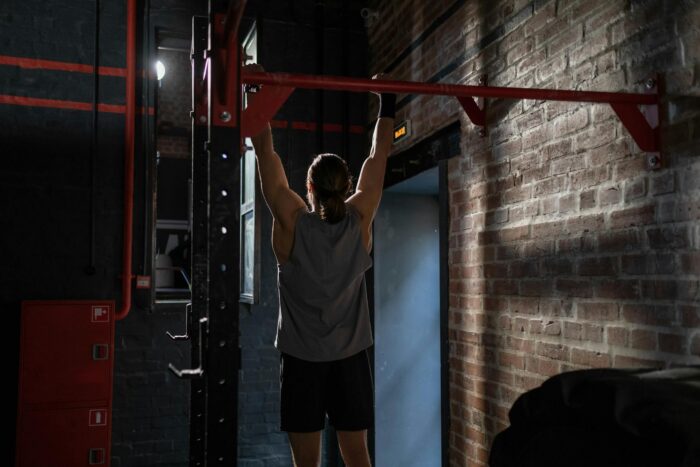
Everyone is capable of doing pull-ups
From the translator: a worthwhile T Nation article on how to build up your pull-ups and how to get started with pull-ups at all, in case you can’t do even a single one. I’m bringing you the practical programs, which are probably what interests readers most. In general, the programs should definitely be left as they are. Small changes to the progression are certainly allowed, for example with the third program. There you can also try adding 1 – 2 repetitions to the weekly work (total volume) every week (on the first and third day), instead of adding one repetition to every set every two weeks (which adds 4 repetitions to the total volume at once). That is up to you, though.
Exercises used in the programs
Wide overhand grip. In the starting position, hang with your arms almost straight. Pull yourself up high enough that your chin ends up above the bar. If we compare classic wide overhand-grip pull-ups with medium underhand-grip chin-ups, the former puts more emphasis on the rear shoulder muscles, the whole mid-back, the brachialis and the brachioradialis.
Chin-ups (medium underhand grip)
Underhand grip, medium width. Again, in the starting position your arms are almost fully extended. To do the chin-up, pull yourself up, again high enough that your chin is over the bar. Underhand-grip pull-ups put the emphasis more on the lats and the biceps. This variation is usually easier than wide overhand-grip pull-ups.
Take an underhand grip, pull yourself up or jump up so that your chin ends up above the bar. Stay in that position and hold yourself there. You can also use an overhand grip.
Starting position: pull yourself up or jump up, holding the bar with an underhand or overhand grip. Hold the bar with your hands, chin above the bar. From this position, start lowering yourself slowly. Negatives usually last 6 – 10 seconds.
Do them like regular pull-ups, but with a jump. This makes them considerably easier, because you make use of momentum. After the pull, lower yourself back down and do the next pull with another jump. Done as a long set, this also burns a fair amount of energy.
This is the opposite of properly done pull-ups… you swing your legs along, don’t use a proper range of motion, do them fast, and so on.
The point isn’t that you SHOULD be doing half repetitions. Rather, if you can’t pull your chin over the bar, try holding yourself at the top and lowering yourself as far down as you can still come back up from. Some can lower a quarter of the way, some half and some ¾.
Band-assisted pull-ups
Another video
Take a resistance band, loop it over the pull-up bar and tie the ends together. Secure the hanging end around your knee or around your foot. If you put the band around your foot, it is tauter and helps more than it does around your knee. The band helps a little, making the pull slightly easier, especially in the bottom phase. Bands of different strength give different amounts of help.
From the translator: I use a long spring for this myself.
From the translator: I won’t bother describing this variation, I’ll just add a link, which is easier.
The more tired you get, the more you start pushing with your legs, and the more help you get.
You can progress by soon using just one leg instead of two. The person assisting doesn’t have to be very strong. It’s a good way to learn pull-ups and to practice them.
Programs
Before introducing the strategies that will help you get better at pull-ups, or get you doing them in the first place, let’s define three categories with different levels. Which one you belong to is for you to decide.
CATEGORY I…can’t do a single pull-up.
CATEGORY II…can do 1 – 4 proper pull-ups.
CATEGORY III…can do 5 – 9 pull-ups.
It’s a fact that if you can’t do much more than five pull-ups, then, to put it mildly, you’re pretty weak. For a woman, though, that would be quite good. In any case, whoever you are, and whatever level you’re at, you can get a lot better.
CATEGORY I – can’t do a single pull-up
The following program is for those who truly can’t do even one pull-up. Training frequency should be 2 times per week, with 2 – 3 days between sessions.
Day I
- Medium-grip underhand pull-up negatives (palms facing you) – 4 x 2 – 3
- Barbell row with your torso leaned forward about 45 degrees – 4 x 10, 8, 6, 12
- Seated behind-the-neck cable pulldown – 3 x 12, 10, 8
Day II
- Flexed-arm hang with your chin over the bar – 4 x 15 seconds
- Partner-assisted pull-ups – 4 x 8 – 12
- Bent-over dumbbell row – 3 x 10, 8, 6
Optional
- At the very end, also try a 5-second negative combined with one jump-assisted pull-up, or combine negatives with flexed-arm hangs with your chin above the bar.
- Train your biceps 1 – 2 times per week; you can easily do it at the end of your back days. Use a moderate weight and don’t exhaust your biceps too much.
- If grip is also a problem for you in pull-ups, you can add some grip work as well.
Progression
- If, in the assistance exercises, you manage to complete all the prescribed repetitions of the hardest set with the chosen weight, increase the weight of every set by 2.5 kg.
- When doing negatives, try to control the movement and your muscles through the full range of motion.
- In flexed-arm hangs, try to hang 5 seconds longer in every set each time.
- Every four weeks, test yourself: see if you can do 1 proper pull-up. You can jump and swing yourself up with momentum, but that doesn’t count as a repetition yet. Lower yourself down from that position under control and try to pull back up. Go down at least ¾ of the range of motion.
CATEGORY II – can do 1 – 4 proper pull-ups
Frequency: 2 x per week, with 2 – 3 days between sessions.
Day I
- Pull-up negatives – 4 x 4
- Barbell row with your torso leaned forward about 45 degrees – 4 x 10, 8, 6, 15
- Seated behind-the-neck cable pulldown – 3 x 12, 10, 8
Day II
- Flexed-arm hang with your chin over the bar – 4 x 30 seconds
- Partner-assisted pull-ups – 4 x 8 – 12
- Bent-over dumbbell row – 3 x 12, 9, 6
Optional
- At the end, also try a combination: a 10-second negative + 1 wiggle pull-up tacked on.
- Train your biceps 1 – 2 times per week; you can easily do it at the end of your back days. Use a moderate weight and don’t exhaust your biceps too much.
- If grip is also a problem for you in pull-ups, you can add some grip work as well.
- On the first day, if you can’t pull yourself up on your own, use jump-assisted pull-ups to get to the top.
- In the assistance exercises, as the weights increase, the set gets shorter.
Progression
- Every week, add one repetition to two of the negative pull-up sets (negatives).
- In flexed-arm hangs, try to add 5 seconds to two sets each time.
CATEGORY III – can do 5 – 9 pull-ups
Frequency: 3 x per week, with a rest day after every training day.
Day I
- Wide overhand-grip pull-ups – 4, 4, 3, 3; rest between sets as much as you need. Do this right at the start of your workout.
Day II (heavy day)
- Weighted pull-ups (5 kg), 4 x 2, with each set of two followed by 3 negatives.
- Barbell row, bent over with your torso at about 45 degrees – 3 x 12 (increase the weight on each set)
- Dumbbell row, bent over – 3 x 12 (increase the weight on each set)
Day III
- Wide overhand-grip pull-ups – 4 x 4, rest as much as you need. Do these right at the start of your workout.
Extra
- On bent-over barbell rows, increase the weight by 5 – 10 kg on each set. For dumbbell rows, increase it by 2.5 – 5 kg.
Progression
- Every third week, add 1 repetition to each set of bodyweight pull-ups.
- Increase the weights on the assistance exercises every two weeks.
- Every two weeks, add 1 – 2 kg to your weighted pull-ups.
Translator’s note: obviously, it makes sense to do the second day as a separate back day or, if you’re training two muscles together, to do the program first.
It doesn’t matter which category you fall into – these programs will get you doing pull-ups. As soon as you’ve reached the next category, for example you can now do 6 pull-ups instead of 2, you can start the program for that category.
In three or four months, your pull-up level should be significantly different from where you started. The same goes for how your back looks.
Author: Janar Rückenberg (translation)
Come and train! ArtGym